How Radon Foundation Access Shapes Effective Mitigation in St. Louis
Understanding the Role of Foundation Access in Radon Mitigation
When I first started working in radon mitigation, I assumed the hardest part would be the technical work: sealing cracks, running PVC piping, and installing a fan system. After a few years in the field, I realized that the real challenge often comes before any of that. It is gaining proper radon foundation access. Without the ability to reach the soil beneath a concrete slab, even the best equipment and the most careful sealing cannot do much good. This is a lesson I have seen play out across dozens of homes in St. Louis, where the mix of older construction and clay-heavy soil makes every job a little different.
Radon foundation access simply means having a way to get to the sub-slab area so that a radon mitigation system can work. In most homes, the foundation is a poured concrete slab. The soil gas that contains radon builds up under that slab and seeps through cracks, gaps, and utility penetrations. A standard solution is sub-slab depressurization, which creates a low-pressure zone under the slab to pull soil gas up through a radon inlet and vent it safely above the roofline. But to install that system, you need to get to the sub-slab area. That is where access becomes a problem.
Many homeowners assume that radon mitigation means putting a fan in the attic and calling it done. In reality, the work starts on the ground floor, literally. The radon inlet must be placed in a location that allows effective suction across the entire footprint of the slab. That requires drilling through the concrete, which sounds simple but often is not. In some homes, the slab is poured over a layer of gravel or crushed stone, which makes the air flow easy. In others, the slab sits directly on clay or dense fill, and the sub-slab material is so tight that a single suction point may not be enough. Without good radon foundation access, you cannot assess the sub-slab conditions, and you cannot place the inlet where it needs to be.
Common Access Challenges in St. Louis Homes
St. Louis has a wide range of housing stock. Some homes were built in the 1940s with crawlspaces or basements, but many have slab-on-grade foundations. In these homes, the concrete slab is often the only barrier between the living space and the soil underneath. Over time, that slab develops hairline cracks from settling, and the soil gas finds its way inside. When I go out to test a home or design a system, the first thing I look for is how much of the slab is accessible. If the homeowner has finished a basement or added a built-in closet, that can block access to a large portion of the floor. In extreme cases, we have to cut through flooring, remove carpet, or even break out a small section of the slab to install the radon inlet. That is disruptive, and it adds cost. But without proper radon foundation access, you are guessing at the placement, and guessing leads to systems that do not perform.
Another issue is the presence of interior walls. In an open basement, you can run PVC piping along the wall and hide it with a soffit. In a finished space, the piping has to go through walls or under floors, which makes the installation more complex. Every turn in the piping adds resistance, and the fan system has to work harder to maintain the necessary vacuum. Good access at the start means fewer turns, shorter runs, and a more efficient system. That is why I always ask a homeowner to clear the area before I arrive. Moving stored boxes, furniture, or workbenches off the slab gives me a clear path to the sub-slab area and saves everyone time.
Testing Before You Dig
Before any drilling or piping work begins, the home needs a proper radon test. I prefer to use a continuous radon monitor for the initial screening because it gives a running average over a few days and shows hourly fluctuations. That data helps me understand whether the problem is consistent or tied to weather patterns. But a radon test kit, the kind you mail to a lab, can also work if you follow the instructions exactly. The EPA recommends testing every two years, and I think that is a good baseline, but if you have never tested, start now. The health department in St. Louis can provide guidance on where to get kits and how to interpret the results.
One thing I have learned is that radon levels can vary dramatically between two houses on the same street, and even between two sides of the same slab. The soil gas moves through the sub-slab material unpredictably. That is why a single test in one room may not tell the full story. If the initial test shows elevated levels, I like to run a second test in a different part of the house, or use a continuous radon monitor to map the variation. That information guides where I place the radon inlet. But again, all of this depends on having access to the slab. If the basement is finished, the monitor has to go in a spot that is both safe and representative, which is not always easy.
Installation and Post-Installation Verification
Once we have a clear picture of the radon levels and the sub-slab conditions, the installation begins. The radon inlet is typically a small hole cut through the concrete slab. From that hole, we run PVC piping up through the house and out the roof. The fan system is installed in the attic or on an exterior wall, and it creates suction that pulls soil gas from under the slab. A manometer is installed on the piping to show that the system is running. That little gauge is one of the most important parts of the setup. It tells you at a glance whether the fan is creating the necessary pressure difference. Without it, you would have to test the air again to know if the system is working.
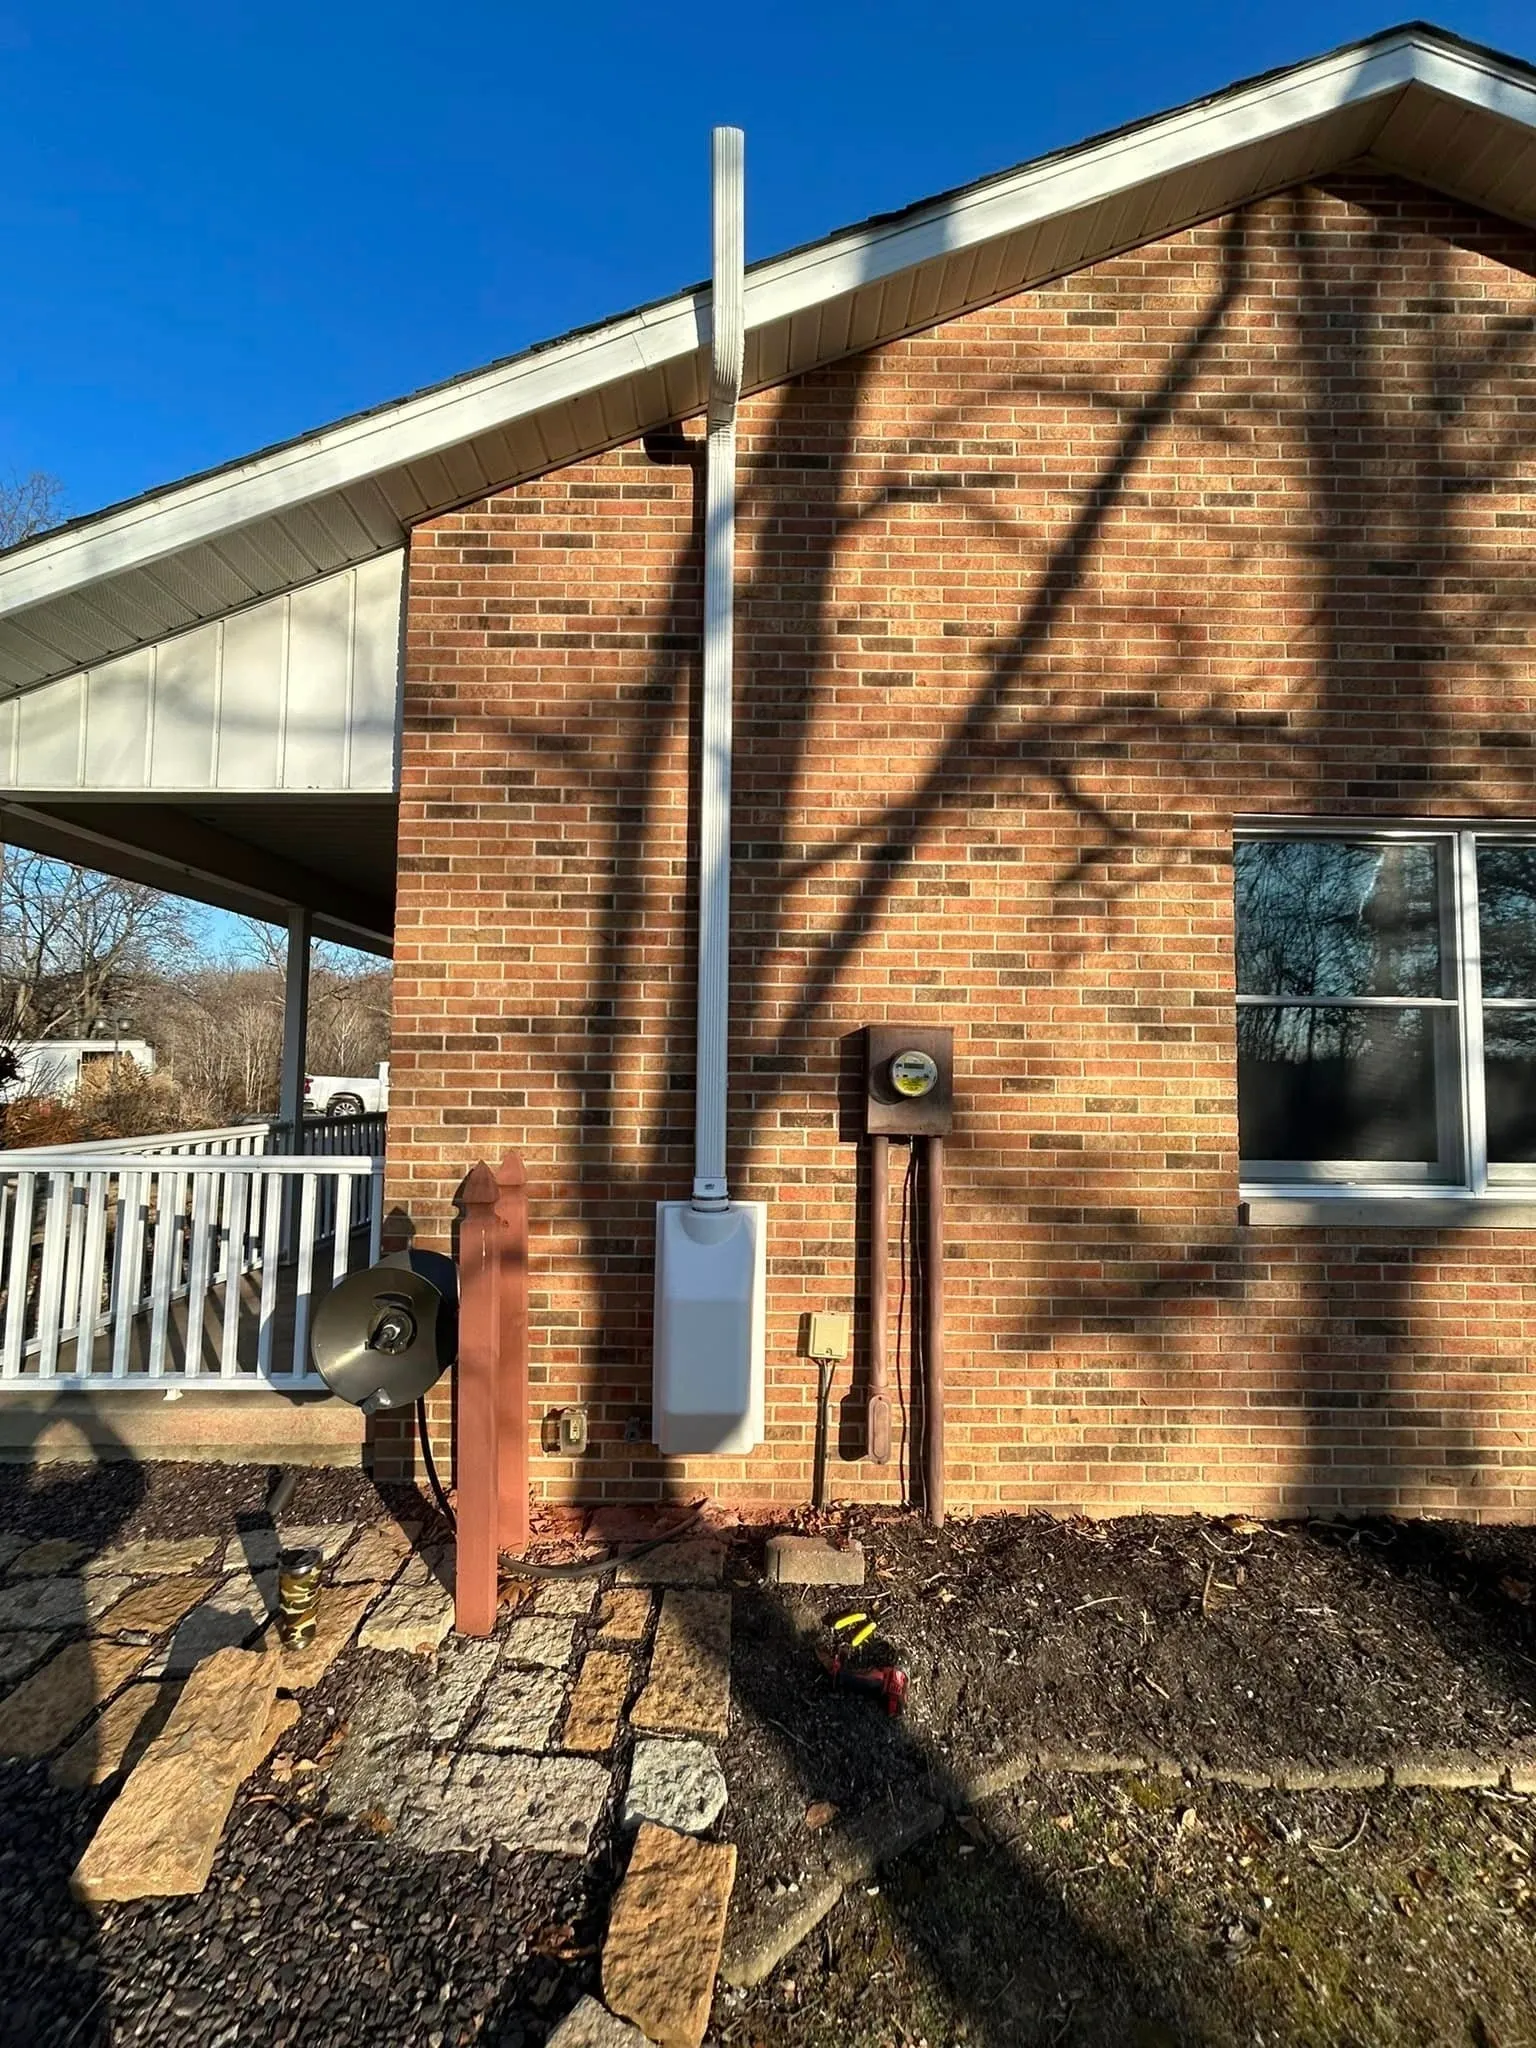
Post-installation verification is a step that some contractors skip, but I consider it essential. After the system is running for at least 24 hours, I go back with a continuous radon monitor to confirm that the levels have dropped below the EPA action level of 4 picocuries per liter. If they have not, I troubleshoot. Maybe the sub-slab material is too tight and a second inlet is needed. Maybe there is a crack in the piping or a seal that was not fully closed. Maybe the fan is undersized for the square footage. Without verification, you are just hoping the system works. A good mitigation warranty should include a post-installation test and a commitment to come back if the numbers are not right.
Broader Considerations: Water and New Construction
Radon can also enter a home through the water supply, especially if the home uses a private well. While the primary concern is soil gas, radon in water can contribute to indoor air levels when the water is used for showering, washing dishes, or laundry. Treatment usually involves an activated carbon filtration system or aeration. If you are on a well in St. Louis, it is worth testing the water as well as the air, especially if you already have a radon mitigation system in place and the indoor levels remain high.
For those building a new home, this is the perfect time to think about radon-resistant construction. Installing a layer of gravel, a vapor barrier, and a passive vent pipe under the slab before the concrete is poured is inexpensive compared to retrofitting a system later. Some builders in St. Louis include this as standard practice, but many do not. If you are building, ask your contractor about it. The cost is minimal, and it gives you a head start on radon foundation access if you ever need to activate a system.
Practical Advice for Homeowners
If you are planning to test for radon or install a mitigation system, here are a few things to consider:
- Clear the area around the slab before the technician arrives. Move furniture, stored boxes, and anything else that blocks access to the floor.
- If you have a finished basement, understand that some disruption may be necessary to reach the sub-slab area. Plan for repairs to flooring or drywall after the installation.
- Ask about the mitigation warranty and what it covers. A reputable company like Air Sense Environmental will stand behind their work and offer a performance guarantee.
- Keep an eye on your manometer monthly. If the reading changes, call for service. A sudden drop could mean a fan failure or a blocked pipe.
- Test your home every two years, even after mitigation. Soil conditions can shift, and the system needs to keep up.
Radon foundation access is not the most glamorous part of radon mitigation, but it is the part that determines whether the rest of the work pays off. In St. Louis, where the geology and housing stock vary so much, a good installer will spend time assessing access before they ever pick up a drill. That upfront work saves headaches later and ensures that the fan system, the PVC piping, and the sealing all work together to keep the soil gas where it belongs: outside, not in your living space.